Import Your Ledger Device
Web App Guide
This guide shows you how to connect a funded Ledger account to your Solflare wallet. It assumes you already have a wallet setup on a Ledger device and there is a SOL balance on at least one account.
If you haven’t done that yet, you can set up a new wallet using the Ledger Live app by following the steps in this guide.
Step 1
Connect your Ledger to your computer via USB

Step 2
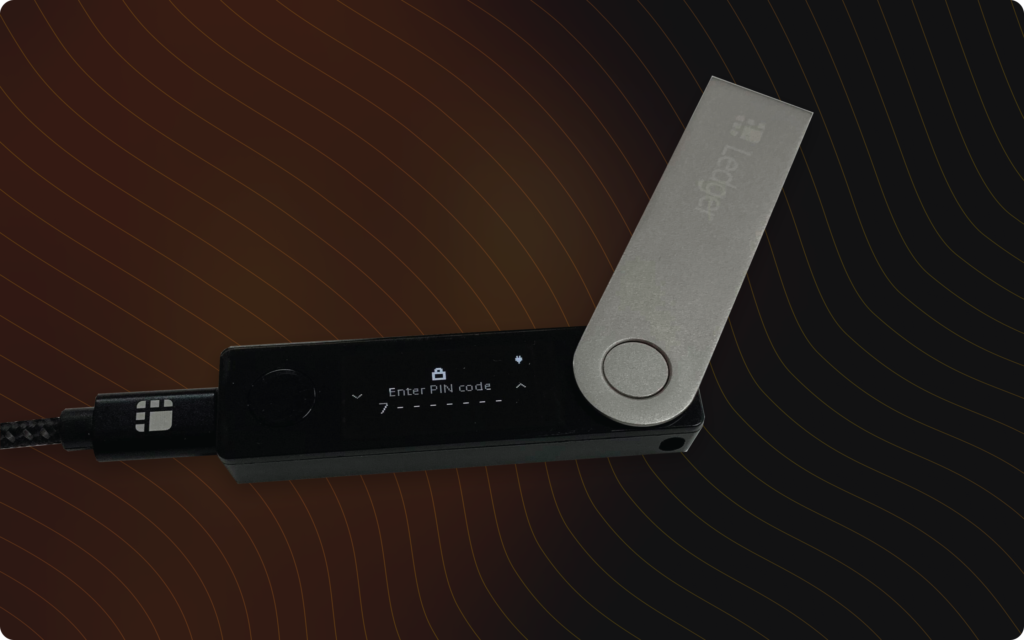
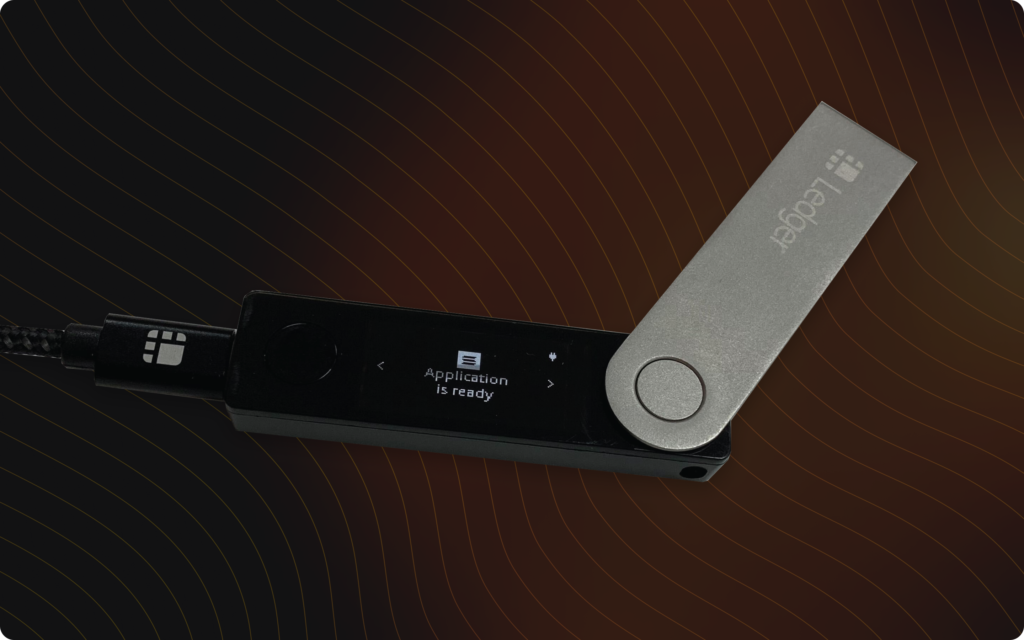
Enter your PIN code and select the Solana application
You’ll see Application is ready appear on the screen.

Step 3
Open Solflare’s website and select Access Web Wallet or Access.

Step 4
Select Continue with Ledger.

Step 5
Open the Solana app and click Continue when ready.
Make sure the Solana app is still open on the device.

Step 6
Your browser will notify you that a device is attempting to connect to Solflare.com.
Click on the Device you want to connect and click Connect.


Step 7
Set a passcode for your wallet.
Solflare will begin fetching accounts from Ledger.


Step 8
Select a derivation path with SOL in it and click Continue.


Step 9
In order to interact with SPL tokens and smart contracts, enable blind signing by following these quick steps on your device (as per Ledger’s support article).
Connect and unlock your Ledger device.
Open the Solana application. Your device displays Application is ready.
Press the right button to navigate to Settings. Then press both buttons to validate. Your Ledger device displays Allow blind sign.
Select Yes then press both buttons. Your device displays Application is ready again. You’re done.

Notes on Blind Signing
Although blind signing is required for using Solana, it is technically an advanced feature.
It is recommended to disable it after use.
Since you will need it to be turned on so often when using Solana, please be cognizant of when it is turned on or off.
Any firmware update or Solana Live app update will automatically disable blind signing.
You’re all set!
You’ve successfully connected and learned how to access your Ledger device using Solflare!

Last updated
Was this helpful?